Are you tired of fumbling with your community gate remote every time you come home? Do you wish there was an easier way to open your gate without having to leave your car? If so, then you’re in luck! Programming your community gate remote to your car is a quick and easy process that will save you a lot of time and hassle in the long run. In this article, we’ll show you how to do it step-by-step.

Image: www.pinterest.com
Before You Begin
Before you start programming your community gate remote to your car, you’ll need to gather a few things:
- Your community gate remote
- Your car’s owner’s manual
- A Phillips head screwdriver
Once you have all of your materials, you’re ready to begin!
Step 1: Locate the Programming Button on Your Remote
The programming button on your community gate remote is usually located on the back of the device. It is typically a small, round button that is recessed into the casing. If you can’t find the programming button, consult your remote’s owner’s manual.
Step 2: Open Your Car’s Hood
Once you’ve located the programming button on your remote, you need to open your car’s hood. This will give you access to the car’s receiver module. The receiver module is usually located near the battery.
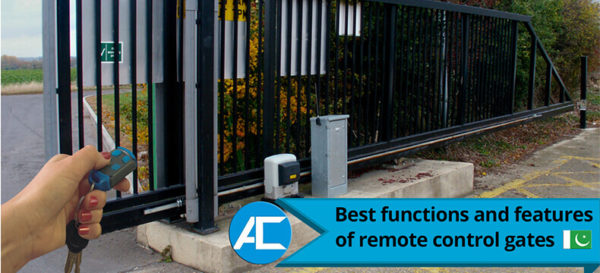
Image: access-pk.com
Step 3: Locate the Receiver Module
The receiver module is a small, black box that is attached to the car’s frame. It has a wire harness that connects it to the car’s electrical system. Once you’ve located the receiver module, you’re ready to begin programming your remote.
Step 4: Press the Programming Button on Your Remote
With the receiver module in view, press and hold the programming button on your remote for about five seconds. The LED on the remote should start flashing.
Step 5: Press the Learn Button on the Receiver Module
Once the LED on your remote is flashing, press the learn button on the receiver module. The learn button is usually located on the side of the module. Once you’ve pressed the learn button, the LED on the receiver module should start flashing.
Step 6: Release the Programming Button on Your Remote
Once the LED on the receiver module is flashing, release the programming button on your remote. The LED on the remote should stop flashing and the remote should be programmed to your car.
Step 7: Test Your Remote
To test your remote, close the hood of your car and walk to the gate. Press the button on the remote and the gate should open. If the gate doesn’t open, repeat steps 4-6.
How To Program Community Gate Remote To Car
Troubleshooting
If you’re having trouble programming your community gate remote to your car, there are a few things you can try:
- Make sure that the battery in your remote is fresh.
- Make sure that you’re pressing the programming button on the remote for at least five seconds.
- Make sure that you’re pressing the learn button on the receiver module within five seconds of pressing the programming button on the remote.
- If you’re still having trouble, consult your car’s owner’s manual or contact the manufacturer of your remote.
